Saturday, January 27, 2018

DIY Dotted Glass Cups

Hello! Today we're making DIY decorated glass cups! You will need:


  • glass cups
  • paint in any color
  • pencil with eraser
  • optional: dishwasher-safe mod podge

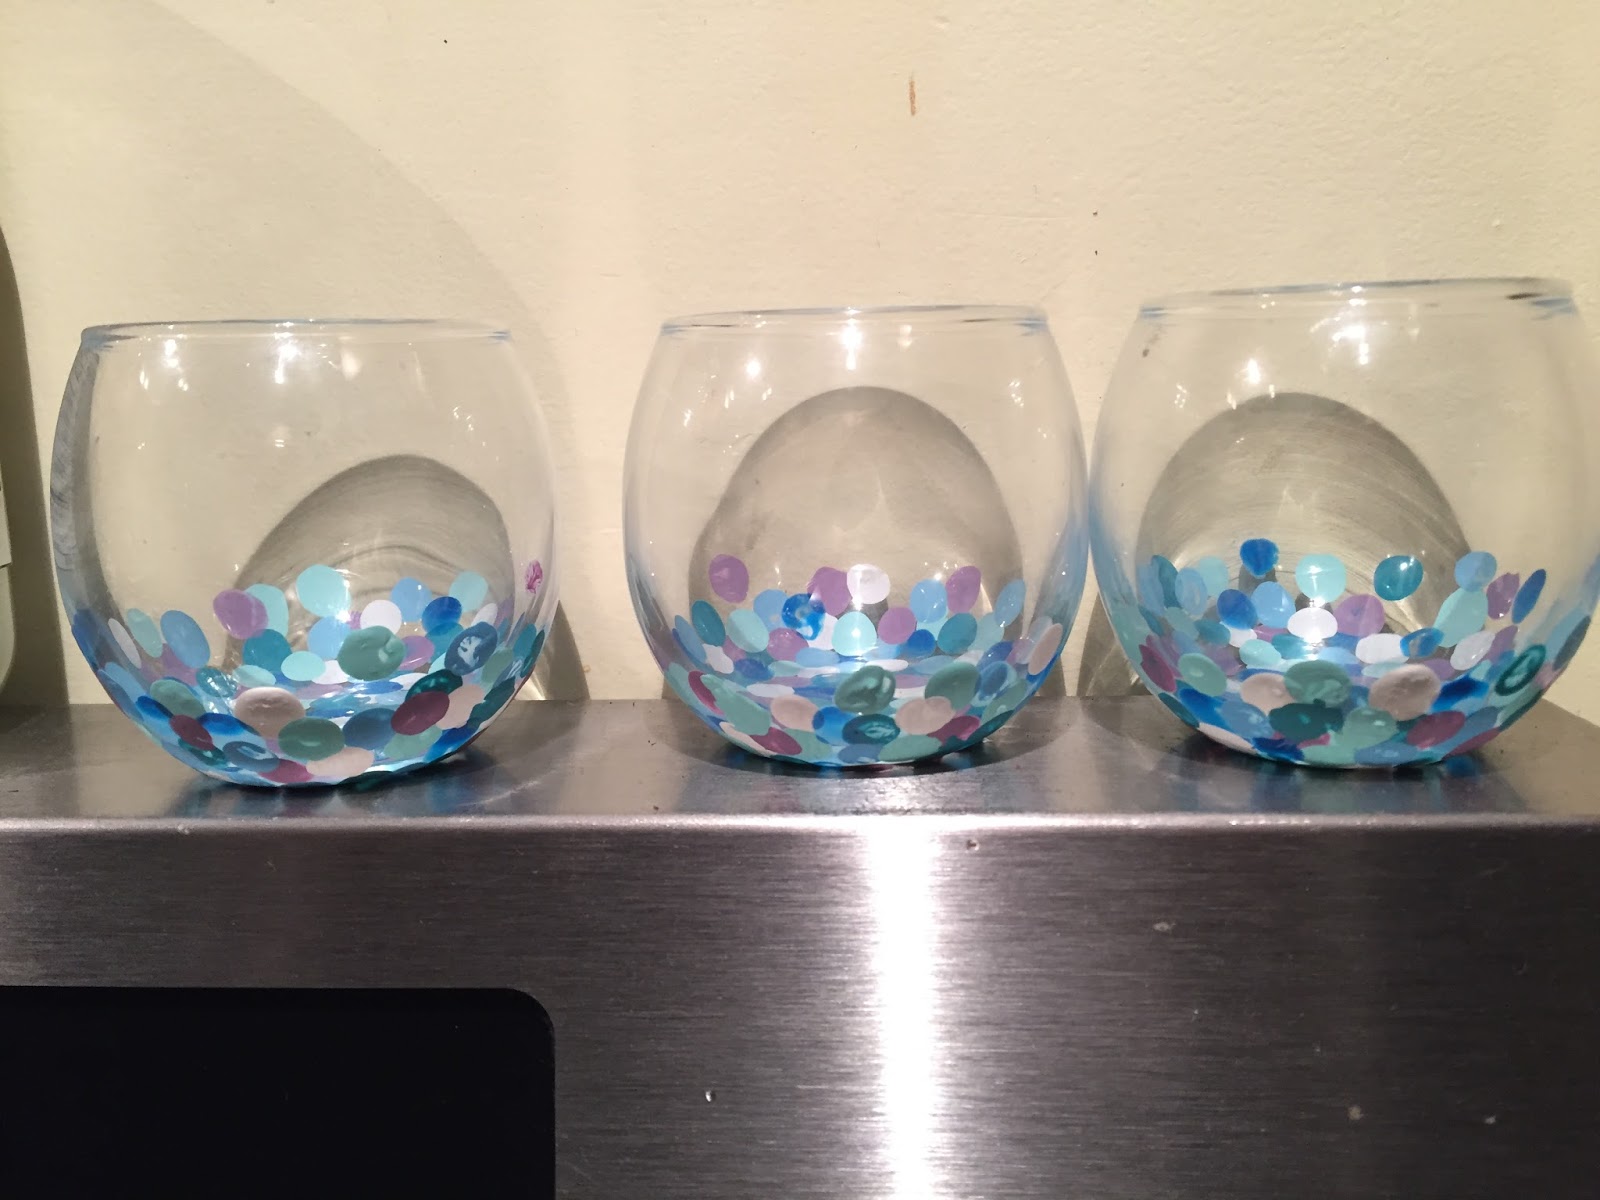
First, use the eraser of the pencil to stamp dots of paint onto the glass. 


Let dry, and add 3-4 more layers onto the cups. 


Once everything is dry, an optional step is to add a layer of dishwasher-safe mod podge to make the glass cups dishwasher safe. After that, you're done! This is how mine turned out:


This DIY was super fun to make. It's pretty time-consuming because of the drying time, but it's definitely worth it. It's very simple to make, and I like how I had all of the materials at home. I hope you try this out sometime!

Until next week,

-Vasti

Sunday, January 21, 2018

DIY Monogrammed Jars

Hello! Today we're making DIY room decor: monogrammed jars! You will need:

  • glass jar
  • your choice of decorative paper (I used an old calendar)
  • X-Acto knife
  • washi tape
  • mod podge 
  • paintbrush
  • letter stencil of your choice


  • Fisrt, tape the stencil to the paper.


    Then, use the knife to cut along the inside of the stencil. After that, remove the tape on the outside of the stencil. Cut the outside border of the stencil.


    Then, use mod podge and a paintbrush to glue the paper onto the glass.


    Let it dry, and you're done! This is how mine turned out:


    This DIY was super easy to make. I like the effect of negative space. I hope you try this out!

    Until next week,

    -Vasti 

    Sunday, January 14, 2018

    DIY Paint Scrape Cards

    Hello! Today we're making cards with a cool design using old credit cards! You will need:


  • cardstock
  • acrylic paint in the colors of your choice
  • old credit card
  • washi tape
  • scissors


  • First, cut each piece of cardstock into 4.


    Then, use washi tape to tape the cardstock onto your work surface.


    After that, pour small drops of the paint onto the cardstock.


    Then, use your card to scrape the paint off from top to bottom, making sure to go past the bottom of the paper.


    Let it dry, and you're done! This is how mine turned out:


    This DIY was super fun to make! The effect is so cool, and I love how different colors can be mixed to make different patterns. I hope you try this out!

    Until next week,

    -Vasti

    Sunday, January 7, 2018

    DIY Muddy Buddies

    Hello! Today we're making DIY muddy buddies, but without peanut butter. You will need:


    • 4 1/2 cups of rice Chex cereal
    • 2 tablespoons of Nutella
    • 1/2 cups of chocolate chips
    • 2 tablespoons of butter
    • 3/4 cup of powdered sugar
    • 1 gallon-sized Ziplock bag


    First, pour the cereal into a bowl and set aside. Then melt all of your ingredients together in the microwave and pour over the cereal.


    Mix well.


    Put the powdered sugar into the plastic bag and spoon in the chocolate-Chex mixture.


    It should all be covered.


    Spread out the muddy buddies onto a cooling rack and let the chocolate harden for about an hour. After that, you're done! This is how mine turned out:


    This DIY was so easy to make. I like how quick it was, since all the ingredients were melted together at the same time. I hope you try this out sometime! 

    Until next week,

    -Vasti