Sunday, July 30, 2017

DIY Plastic Bottle Pencil Case

Hello! Today we're making another pencil case, but this time it's made using plastic bottles. You will need:


  • 2 plastic bottles
  • scissors
  • a zipper long enough to wrap around the bottle


First, cut your first bottle at the top, right where it starts to narrow. Then cut the second one near the end.


With your glue gun, glue the zipper onto the bottles, making sure the zipper is face down. Use a rolling motion to prevent a crooked zipper.


Close the zipper up and you're done! This is how mine turned out:


This DIY was super easy to make. I love how it's made from recycled materials, so you don't have to buy anything from the store! It would be cool to play with different lengths to cut off the bottle to make it really small and short. I hope you try this one out!

Until next week,

-Vasti


Friday, July 28, 2017

DIY Woven Paper Baskets

Hello! Today we're making DIY woven paper baskets from paper bags. You will need:


  • 1 paper bag
  • scissors
  • ruler
  • glue gun


First, take the handles off the bag and cut the bottom off.


Open the bag up so it lays flat.


With your ruler and pencil, make vertical lines on the bag 1 3/4 inches apart.


Cut them out. You only need 18 strips.


Take two of the strips and cut them in half.


Then glue the half strips onto 4 regular sized strips with your glue gun.


Fold all of the strips, including the extra long ones, into thirds. If you want, you can glue the strips closed.

Weave the regular strips into a 6x6 square, as tightly as possible. Then glue down the 4 corners to make sure the base of the basket is secure.


Start weaving the extra long strips around the sides. The first strip is the hardest, but it gets so much easier with practice. When you have woven the strip, make sure to glue the ends together so the basket won't fall apart. Do this for the other 3 extra long strips.


Once you've woven all 4 extra long pieces, tuck the ends inside the basket. You can use glue to make sure they're tucked in, and you're done! This is how my basket turned out:


This DIY was so fun to make. It's pretty time consuming, but I love how it turned out! These are perfect for holding food, office organization, or even home decor. It would be cool to play with different colors of paper such as magazine strips. I hope you try this out!

Until next week,

-Vasti

Thursday, July 27, 2017

DIY Pencil Pouch

Hello! Today we're making a DIY pencil pouch. Since this project requires a sewing machine, it's a bit more complicated than my other posts. You will need:


  • fabric or your choice (the thicker the better)
  • scissors
  • pencil
  • zipper at least 12 inches long
  • pins
  • iron

First, cut your fabric into one 10"x7" piece. 


Then, pin your zipper face-down onto the top of the long side of fabric. Make sure you have at least an inch of the zipper on both sides of the fabric.


Sew the zipper to the fabric with a sewing machine.


Next, fold the rectangle of fabric in half lengthwise, with the right sides of the fabric facing each other. Pin the edge of the fabric to the top of the zipper.


Sew the other side of the fabric in place, then turn it inside out. Iron the fabric so the zipper is in the middle. Make sure the fabric is creased when you iron it.


Open the zipper all the way down, and sew the zipper in for added durability. This is called a top stitch.


Flip everything inside out again. Using the creases, tuck the edges into themselves. Open the zipper halfway and pin the edges down to keep the new shape in place.


After that, sew the ends of the pencil pouch down. Make sure to go slowly, or else your needle will break.


Cut the ends of the zipper off, flip it inside out again, and you're done! This is how mine turned out:


Although this DIY was a bit more complicated than usual, it was worth it to make. It is great to use at school, at home, or even as a gift! It's super fun to play with different patterns of fabric. I really hope you try this one!
Until next week,

-Vasti

Sunday, July 23, 2017

DIY Cloud Bread

Hello! Today we're making DIY cloud bread. It's low carb and gluten free! You will need:


  • 3 eggs
  • 1/8 teaspoon of cream of tartar
  • 3 tablespoons of plain yogurt
  • parchment paper

First, preheat your oven to 300°. Then separate the eggs and put the egg whites in a mixing bowl.


Add the cream of tartar into the egg whites.


In a separate bowl, mix the egg yolks and yogurt together. Set aside.


Beat the egg whites into stiff peaks.


Fold your egg yolk mixture into the egg whites. Make sure that the folds are gentle, to ensure fluffiness in the bread.


Line a baking sheet with parchment paper. Add dollops of the mixture onto the sheet and bake for 25 minutes or until golden brown.


Let the bread cool for at least 1 hour and you're done! This is how my cloud bread turned out:


This DIY was super easy to make. I love how healthy it is, as there is no gluten and is low carb and low fat. I hope you try it!

Until next week,

-Vasti

Sunday, July 16, 2017

DIY Chocolate Covered Frozen Bananas

Hello! Today we're making DIY chocolate covered frozen banana pops. You will need:

  • 2 bananas
  • 1 cup chocolate chips
  • 4 short skewers
  • knife
  • parchment paper

Cut your bananas in half, and put skewers in them.


Freeze the bananas for at least an hour. After the bananas are frozen, melt the chocolate. I used a double boiler, but you can microwave it if you want.


Once the chocolate has melted, use a spoon to dip the bananas into the chocolate.


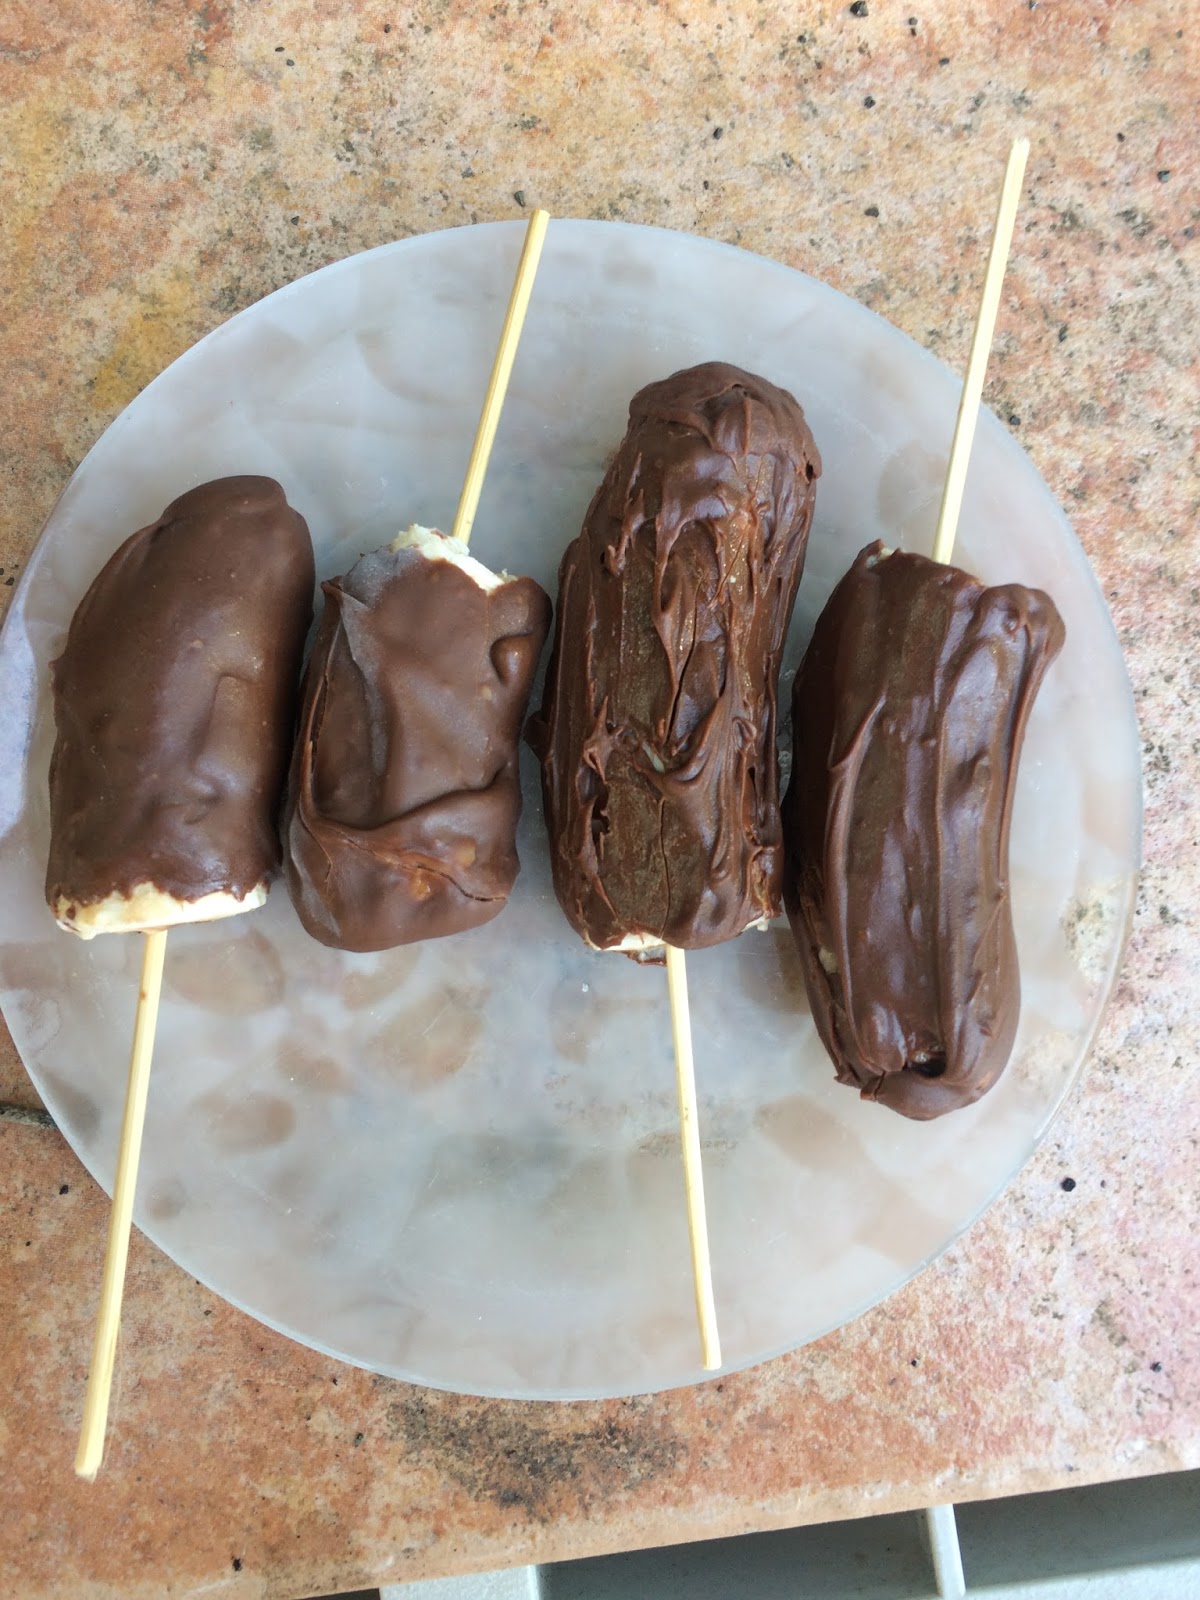
Put the bananas back into the freezer, and freeze for another 30 minutes. And you're done! These are how mine turned out:


This DIY is perfect for summer. It's a refreshing frozen treat for the heat! This recipe was very easy to make. I hope you try this out sometime! 

Until next week,

-Vasti


Sunday, July 9, 2017

DIY Boba Bubble Tea

Hello! Today we're making boba pearls, also known as tapioca pearls for bubble tea. You will need:

  • 1/2 cup of tapioca flour
  • 1 cup of boiling water
  • mixing bowl

First, put the tapioca flour in the bowl. Add the water in slowly.


Knead the dough with your hands until it is not sticky.


Put some more tapioca flour onto your work surface and roll the dough into a snake.


Using a knife, cut the roll of dough into small pieces.


Roll the small pieces into balls.


Bring water in a pot to a boil, and pour the balls into the pot.


Cook the tapioca pearls until they float to the top.


Take the pearls out of the pot. They can be used immeadiately. Store them in honey to keep them at their best. You're done!


This DiY was super fun to make. It's a little time consuming, especially the clean up process! These taste better than the store-bought boba, and they're healthier! I hope you try this out sometime. 

Until next week,

-Vasti

Sunday, July 2, 2017

DIY Marbled Phone Case

Hello! Today we're making DIY phone cases that are marbled. You will need:

  • nail polish
  • water
  • white paint
  • old phone case
  • paint brush 
  • toothpicks


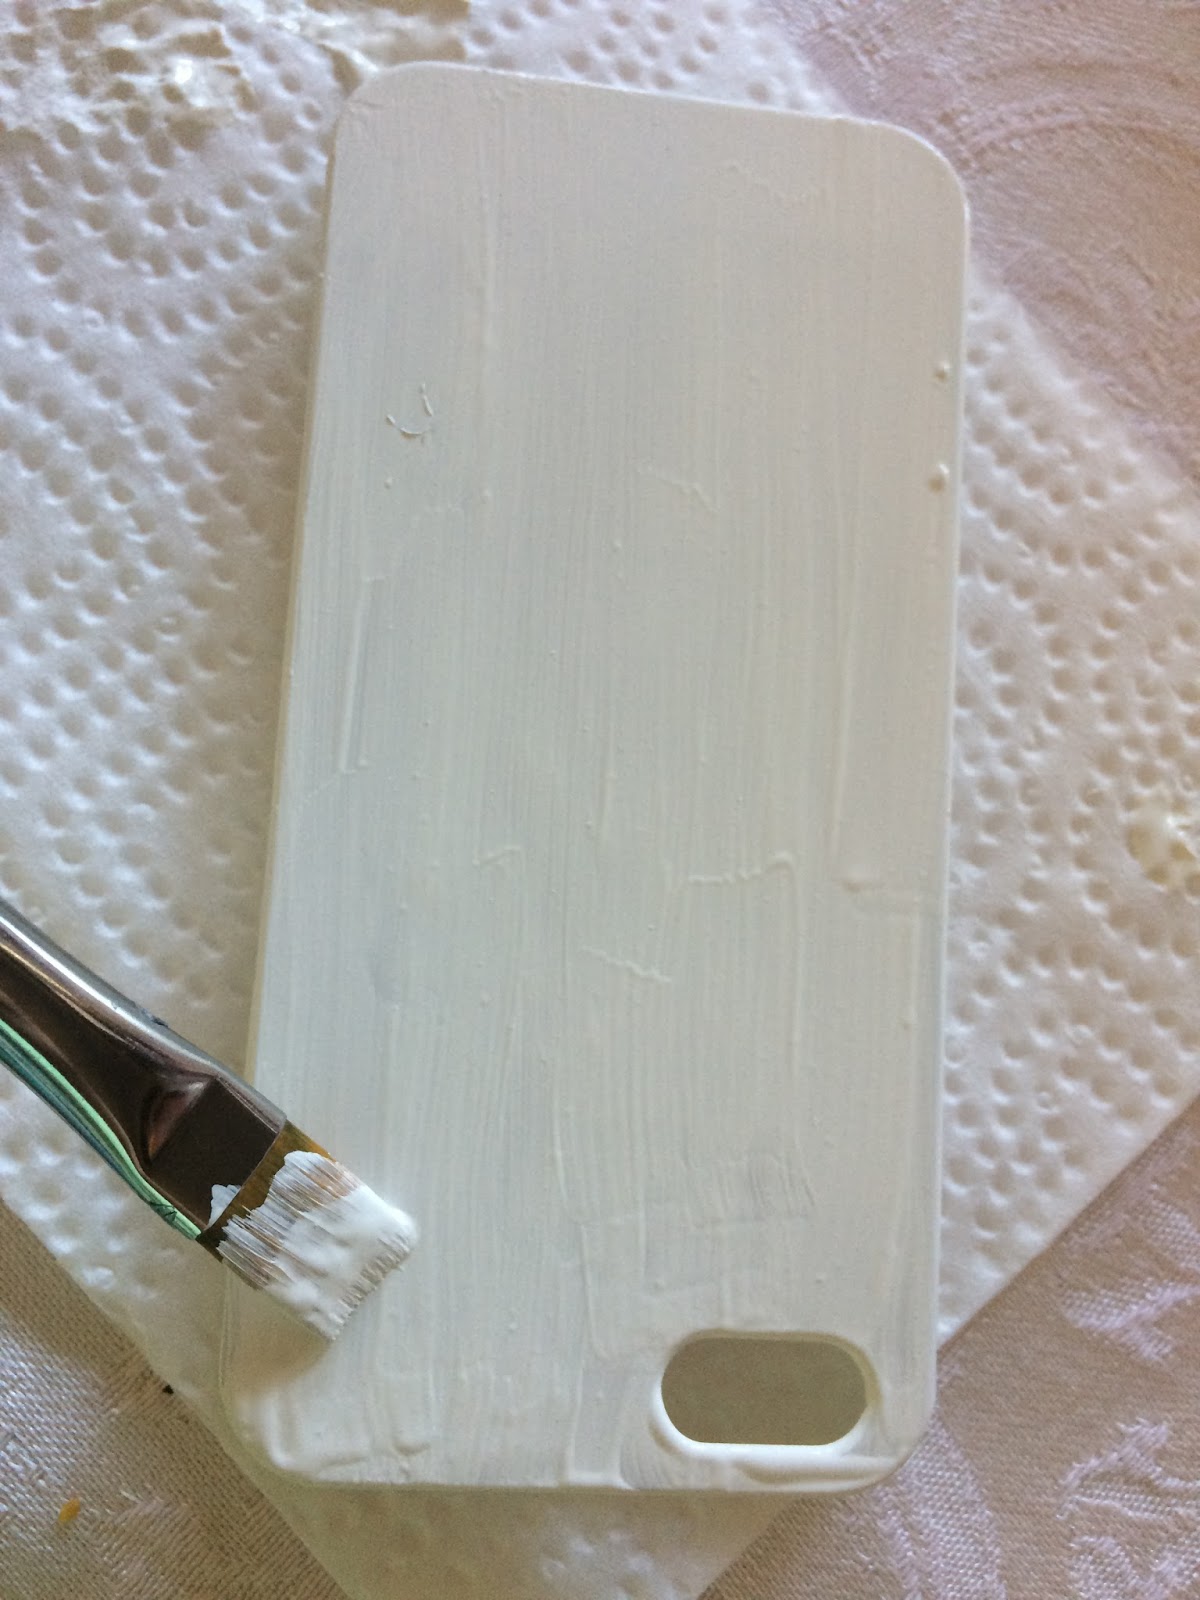
First, paint your phone case white if it isn't already. Let it dry.


I totally forgot to take a picture of marbling the nail polish, but if you want to know how to marble with nail polish, I posted a similar DIY where I marbled a mug using the same technique.


I took the case out of the water and dried it off with a paper towel. Here's how my case turned out:


This DIY was super simple to make. It took less than an hour, and it had all of the materials at home. I love the marbled design! I hope you try this one out.

Until next week,

-Vasti