Sunday, January 31, 2016

DIY Air-Dry Clay

Hello! Today we're making DIY air-dry clay made from only 2 ingredients! You will need:


  • 1/2 cup of baking soda
  • 1/4 cup of cornstarch
  • 6 tablespoons of water


Start off by putting all ingredients in a saucepan.


Put it over medium heat, and stir constantly so it doesn't stick or burn. After a minute or so, the mixture will start to clump together. 


Take it off the heat and out it in a bowl.


Cover it with a damp dishcloth to cool it off.


When the clay is at room temperature, take off the towel, and you're ready to start sculpting! This is how mine looks like:


This DIY was very easy, and pretty straightforward. I like the fact that you probable have all of the materials at home, and it's very fun to make! It dries in about 10 hours, so it's great for long projects. I hope you try this out!

Until next week,

-Vasti


Sunday, January 24, 2016

DIY Glue

Hi! Today we're making DIY glue. This works as well as Elmer's glue, and is a natural alternative. If you water it down, it is great for Mod Podge! You will need:

  • Saucepan
  • 1 cup of flour
  • 1 cup of granulated white sugar
  • 3 cups of water
  • Whisk
  • 1 tablespoon of vegetable oil
  • 1 tablespoon of vinegar
  • An airtight container to put it all in

Start by putting the water, flour, and sugar into the saucepan. Put it over medium heat, and keep whisking until smooth. 


Then, keep whisking until you feel that the mixture is getting thick. Put the oil and vinegar in. As you can see, at first the oil separates at the top, but if you keep whisking, it mixes in.


After you've whisked it in, you will see that it gets super thick. Take it off the heat, and and wait for it to cool off at room temperature.


After you've let it cool off, put it in a sealable airtight container. Then you're done! This is what it looks like:


This DIY was fun and very easy to make. This project took about 10 minutes from start to finish, and you most likely have all the materials in your house already! I hope you liked it.

Until next week,
-Vasti


Sunday, January 17, 2016

DIY Coffee Pods

Welcome back! Today we're making DIY coffee pods.

You will need:


  • Coffee filters
  • Coffee grounds
  • Spoon
  • Cotton string- I used baker's twine
  • Scissors


First, fill your coffee filter with 2-3 tablespoons of coffee grounds.


Then, tie it up with the string, and cut off the excess. You're done! This is how it looks like.


This DIY was super easy and quick. It's great for on-the-go, and it works just as well as a tea bag. All you need to do is put it in hot water, and let it steep for 2-3 minutes. I hoped you liked it! Enjoy!

Until next week,
-Vasti

Sunday, January 10, 2016

DIY Peppermint Candy Bowls

Hi guys! Today we're making DIY peppermint candy bowls. You will need:


  • Peppermint starlight mints, 19 per bowl- I used spearmint
  • Glass bowl
  • Parchment paper


Start by preheating your oven to 300° degrees F.  Next, unwrap all your mints.


Then, arrange them in a hexagonal shape. 


When the oven is hot, put the mints in until melted together. Mine took about 7 minutes, but be careful because they can burn. While they are melting, an optional step it to rub coconut oil on the bowl so the candy doesn't stick to it.


After that, take them out and quickly adhere it to the bowl, shaping is as you go. You want to make sure you do this very quickly, as it hardens in less than a minute.


Then, leave it out to cool and harden. When completely hardened, you're done! This is how mine looks:


This DIY was super fun to make. It was a little bit hard because of how quickly you have to mold the candy and how hot it was, but it was worth it. You can use these bowls for pretty much everything! You should try this one out!

Until next week, 
-Vasti

Sunday, January 3, 2016

DIY Marbled Clay Dish

Hey Guys! Today I'll show you how to make these unique marbled clay dishes.

You will need:

  • Polymer oven-bake clay
  • Rolling pin or mug
  • Small knife, but I ended up not using it


First, roll out all of you clay into long pieces like this.


Combine the pieces, and keep rolling it with a rolling pin until the desired marbled design. Then, roll the clay into a swirl like this.


With the rolling pin, roll out the swirl. Then place it on the bottom of the oven-safe bowl.


Take that to an oven, and bake according to the directions of the clay.


And you're done! This is how mine looks:


 This DIY was super easy to make, and I love how different the marble effect can be each time. You should really try this one!

Until next week,
-Vasti

Sunday, December 27, 2015

DIY Peppermint Bark

Hello and welcome back! Today we're going to make peppermint bark.

You will need:

  • White Chocolate
  • Dark or milk chocolate
  • Plastic ziplock bag
  • Candy canes
  • Aluminium foil
  • Container to make it in- I used a casserole dish

First, line the dish with the foil. This will make it easier for the bark to unstick to the dish.


Then, melt your dark or milk chocolate.


Pour your chocolate onto the dish, and put it in the refrigerator until firm. I didn't take pictures for the white chocolate, but just do the same thing you just did with the dark chocolate.


Before putting the white chocolate in the refrigerator, put some candy canes in a plastic ziplock bag, and crush them- I used a rolling pin.


Once they are crushed, sprinkle them onto the chocolate and put it into the refrigerator until firm.


When the chocolate is cool, use a knife to cut them into shard-like pieces, and you're done! This is how mine looks like:


This DIY was super fun to make! It is so easy, and isn't time consuming. It makes a great gift, and is an amazing holiday treat! You should try this out sometime.

Until next week,
-Vasti

Sunday, December 20, 2015

DIY Match Holder

Hello! Today we're making DIY match holders. You will need:

  • Fireplace or barbecue matches
  • Wrapping paper tube or paper towel tubes
  • Scissors
  • Glue gun
  • Decorative paper- I used wrapping paper
  • Glue stick
  • Clear tape
  • 2 lids or caps big enough to fit perfectly in your tubes- I used prescription bottle lids

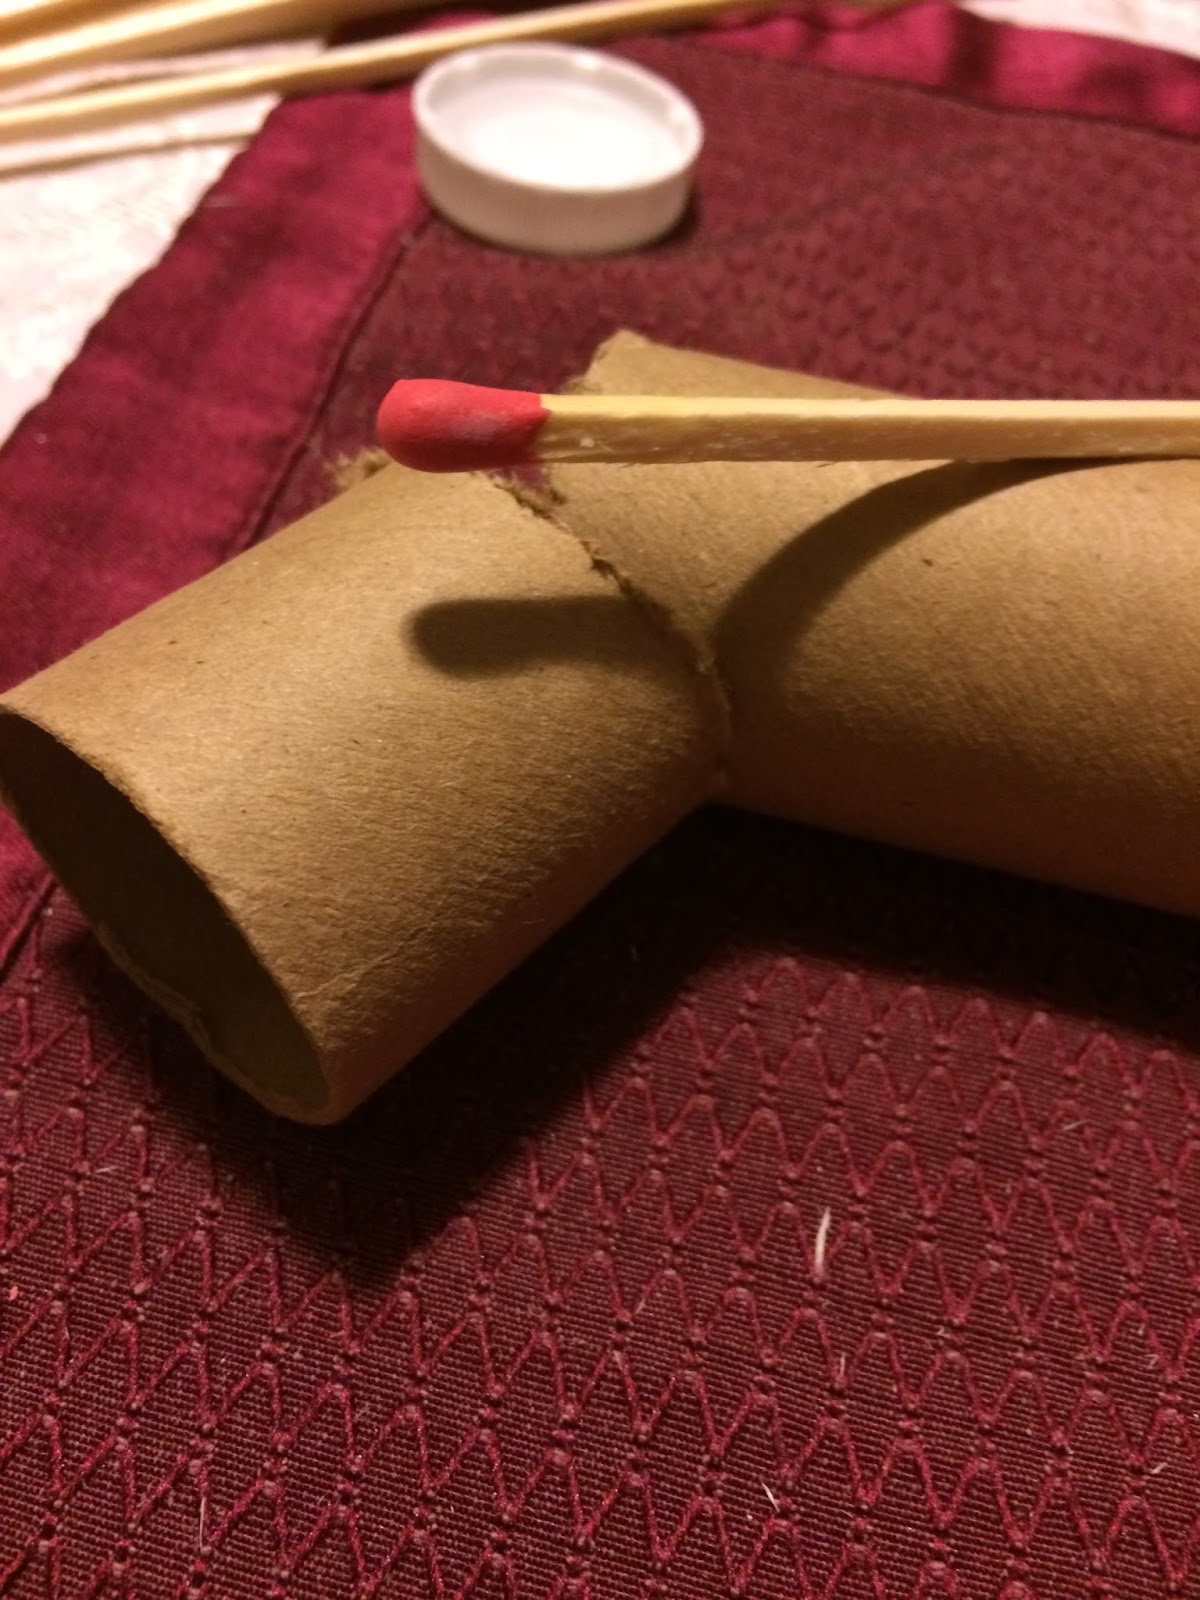
First, cut the tube to the height of the match, and save the other end.


Get your paper and cut it to the size of the tube, leaving a little extra to fold over the tube.


Glue it to the paper towel tube.


Then, cut little flaps all around the paper and glued them onto the inside of the tube. Do this to both sides.


With the extra piece of paper towel tube, first cut it down the middle, put it around the other tube, and tape it together to make it a bit bigger than the tube. This will be the cap to your holder. I forgot to di this step before wrapping it, so that's why mine looked weird. Then I covered it with paper so the tape didn't show.


This is how it looks so far:


Next, take your caps and wrap them with the decorative paper. Using the hot glue gun, glue the caps to the top of your holder lid, and the bottom of your holder.


Put your matches in, and you're done! This is how mine looks:


This DIY was so easy, and pretty fun to make. Sorry if my instructions weren't clear, this was kind of hard to explain, but I hope the pictures were clear enough. This is a great idea, and I love how you can customize it with any kind of paper, and upcycle something so simple as a paper towel roll and make it into something useful! I hope you try this one!

Until next week,
-Vasti

Sunday, December 13, 2015

DIY Gummies

Hello!

Today I'm going to show you how to make your own fruit gummies.

You will need:


  • 1 cup fruit juice- I used pineapple juice
  • 2 tablespoons unflavored gelatin- you can use a gelatin substitute if you're vegetarian
  • Silicone molds


First, put your juice into a saucepan.


Then, add the gelatin and wait for the juice to absorb.


Turn the stove on medium-low heat. Stir the mixture until the gelatin is dissolved and you can't see it anymore. This should take 5 minutes.


Pour the mixture back into a cup, and fill your molds.


Lastly, put the molds into the freezer for at least an hour. And that's it! This is how mine looks:


This DIY was super easy and fun to make. I like how you can customize them to make any flavor you want. These are great gifts for younger kids, or anyone! Enjoy!

Until next week, 

-Vasti

Sunday, December 6, 2015

DIY Gift Bags

Hey! Since we're in the holiday season, I thought we would kick it off with DIY gift bags.

You will need:

  • Scissors
  • Glue stick
  • Any piece of paper (wrapping paper, scrapbook paper, newspaper)
  • String or ribbon

 First, fold your piece of paper an inch down from the top.


Then glue it. This will be the top of your bag.


On that same side, fold your paper into thirds, leaving a bit of an overlap. Then glue the edges together.


Then,  on that same side, fold the "bottom" of the paper. This will be the depth of your bag. If you fold more, then the bag will be wider.


Open the folded part, and fold both sides in to look like this:


Fold the corners down, and glue it together.


Fold the bag to look like this. These will be the sides.


Open it back up, and unfold it. Optional: Add string to the sides to make handles. You're done! Here's how mine looks:


This DIY was so easy, and fun!I love that you can make these really quickly as a last-minute bag.  I hope you enjoyed it!

Until next week, 

-Vasti