Sunday, May 28, 2017

DIY Chocolate Covered Popcorn

Hello! Today we're making DIY chocolate covered popcorn. You will need:


  • popcorn (I used microwave kettle corn)
  • candy melts (I used black and white)
  • piping bags or plastic bags
  • small bags to put popcorn in


First, pop your popcorn.


Put your popcorn in the bags and set aside. Then melt your chocolate and pour it into the plastic bag. Cut off the tip of the bag and pour over the popcorn.


Let the chocolate harden, and you're done! This is how mine turned out:


This DIY was super fun and easy to make. They are great as party favors, or just to snack on! I hope you try these out sometime.

Until next week,

-Vasti

Sunday, May 21, 2017

DIY Unicorn Frappuccino

Hello! In honor of the spring season, we're making a DIY version of the Starbucks Unicorn Frappuccino. You will need:


  • 4 tablespoons white chocolate sauce
  • 1 envelope unsweetened Blue Raspberry Lemonade Kool Aid
  • blue neon food coloring
  • pink neon food coloring
  • 1/2 cup of vanilla ice cream
  • 1/2 cup of ice
  • 1/4 cup of milk
  • Strawberry Baby Bottle Pop candy
  • 1 1/2 teaspoons of mango syrup
  • whipped cream
  • piping bag

First, mix together the white chocolate sauce with the Kool Aid powder.


Add 3-5 drops of neon blue food coloring.


Then put the mixture into a plastic or piping bag. Set aside.


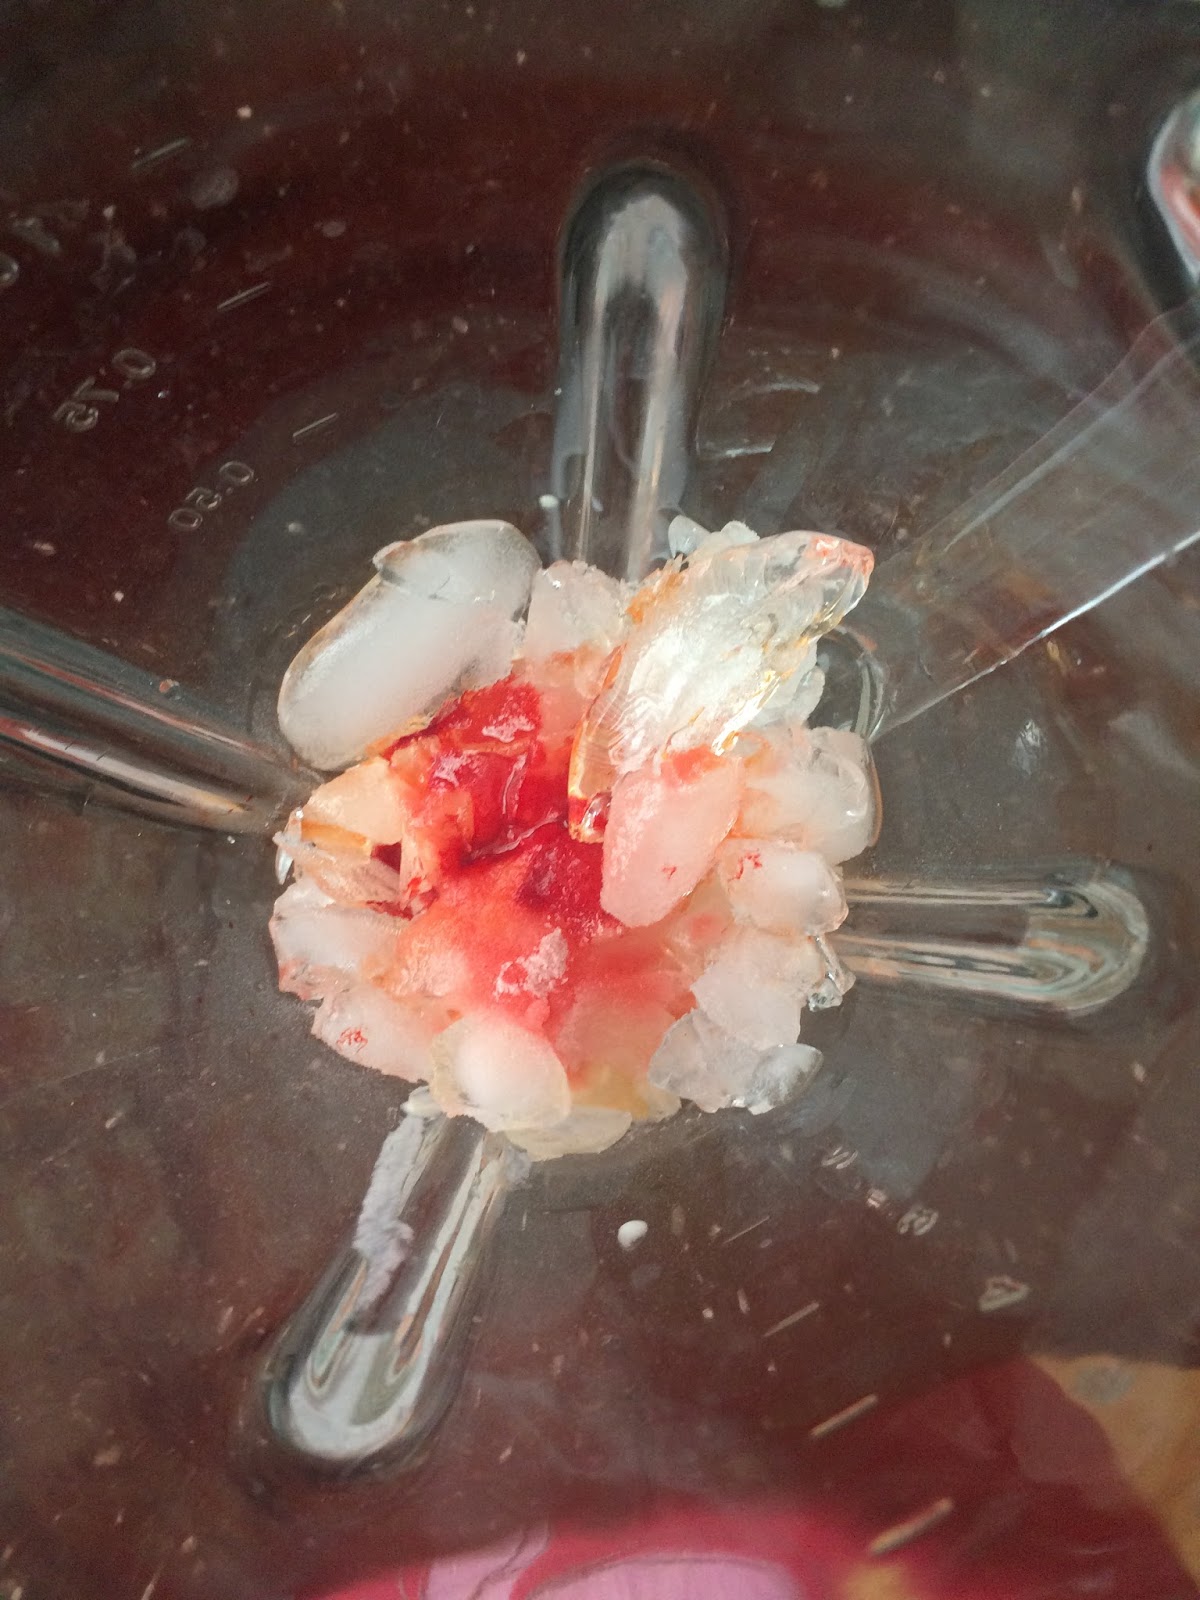
In a blender, add your ice cream,


ice,


1 teaspoon of the Baby Bottle Pop candy powder,

 mango syrup,

3-5 drops of neon pink food coloring,


and milk. Blend and put aside.


After that, drizzle the blue white chocolate sauce along the inside of the cup.


Carefully pour in the drink from the blender.


Add some whipped cream on top and sprinkle with more candy powder.


And you're done! This is how my unicorn frappuccino turned out:


This DIY was very fun to make. It wasn't very time consuming, and it tastes like the one from Starbucks! I really hope you try to make this, especially since the drink was only limited edition.

Until next week,

-Vasti

Saturday, May 13, 2017

DIY Flower Push Pins

Hello! Today we're making DIY flower-decorated push pins. You will need:


  • fake flowers
  • scissors
  • push pins
  • hot glue gun


First, cut off all of the stems of the flowers as short as possible.


Then, glue your flowers to the back of the push pins.


Make as many of these as you want.


And you're done! These are how mine turned out:


This DIY was super simple to make. It took about 5 minutes, and it's a great way to decorate your bulletin board with pretty push pins. I hope you try this out!

Until next week,
-Vasti

Sunday, May 7, 2017

DIY Pom Pom Rug

Hello! Today we're making a DIY pom pom rug. You will need:


  • pom poms with 2 strings attached (I have another post about this, read here)
  • scissors
  • rug liner as big as your desired rug size


This DIY is super short, so here goes: all you have to do is tie the pom poms through the holes in the rug liner, making sure they don't fall off.


Once you've fully arranged the pom poms, the rug looks like this:


This DIY was super easy to make, but making the pom poms was the hardest part, as it took over 2 hours to complete them. The end result is so soft! I hope you try this out sometime. 

Until next week,

-Vasti

Sunday, April 30, 2017

DIY Gluten Free Japanese Fluffy Cheesecake

Hello! Today we're making DIY Japanese fluffy cheesecake, and it's gluten free! To make this, you will need:


  • 18 cm round baking pan
  • 4 ounces of cream cheese
  • 2 1/2 tablespoons of canola oil (any oil works here)
  • 4 tablespoons of milk
  • 2 tablespoons of cornstarch
  • 2 tablespoons + 4 tablespoons of powdered sugar (don't mix together! Each amount will be used for different things)
  • 3 eggs, separated
  • 1 1/2 tablespoons of lemon juice

First, preheat your oven to 300º F. Melt your cream cheese, oil, milk, and 2 tablespoons of powdered sugar into double boiler.


Stir in the egg yolks.


Stir in the cornstarch.


Add lemon juice, take off heat, and set aside.


In a separate bowl, beat egg whites.


Add in 4 tablespoons of powdered sugar.


Beat until stiff peaks form.


Then, fold in your egg whites to the cream cheese mixture 1/3 at a time.


Fold until well incorporated.


Line the bottom of the pan with parchment paper and spray the sides with cooking spray.


Carefully pour the mixture into the baking pan, put it in a water bath method, and bake it in the oven for 80-90 minutes, or until cooked through.


Let it cool, and you're done! This is how mine turned out:


This DIY was super fun to make. It's pretty time consuming, but the result is great! It's perfect for parties, or just an at-home dessert. This cheesecake is very fluffy and melts in your mouth. I hope you try this one!
Until next week,

-Vasti

Sunday, April 23, 2017

DIY Gluten Free Banana Muffins

Hello! Today we're making DIY gluten-free banana bread muffins. You will need:


  • 2 cups gluten free flour
  • 4 bananas, mashed
  • 1/2 cup sugar
  • 1 stick butter
  • 2 eggs
  • 2 tablespoons milk
  • 1/2 teaspoon vanilla extract
  • 1 teaspoon baking powder
  • 1 teaspoon baking soda
  • 1/4 teaspoon salt
  • 1/2 cup chocolate chips

First, preheat your oven to 350º. In a large bowl, mix together the flour, baking soda, baking powder, and salt.


In a separate bowl, cream together the butter and sugar.


Add the bananas, eggs, milk, and vanilla.


Stir the chocolate chips in. 


Line your cupcake molds with cupcake liners and pour the batter in.


Bake for 45-50 minutes, and you're done! These are how my muffins turned out:


This DIY was super fun to make! They taste great, without the gluten! I hope you try these out sometime.

Until next week,

-Vasti

Sunday, April 16, 2017

DIY Origami Bookmarks

Hello! Today we're making DIY corner bookmarks using origami. You will need:

  • any kind of paper cut into squares- I used origami paper as well as scrap pieces of paper


First, fold your paper in half, diagonally.


Then unfold it and fold it diagonally again, but with the other sides.


Take the top corner or the paper and fold it down, until the corner aligns with the base.


Fold the side corners in.


Unfold the side corners, and fold them up until all corners are touching.


Unfold the corners, and fold each corner into itself, one at a time.


This is what it should look like.


You're done! Feel free to decorate the bookmarks with pens or markers.


This DIY was very simple and fun to make. They make great gifts, and are good to make with kids or friends. I hope you try this one out!

Until next week,

-Vasti