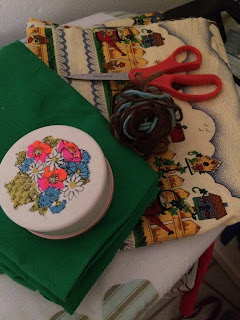
- 2 15" x 15" pieces of fabric
- 2 15" x 5" pieces of fabric
- Sewing machine
- 4 yards of cording or yarn, but I strongly recommend cording as yarn won't hold very much weight
- Scissors
- Ruler
- Pins
- Safety Pin
First, cut your fabric.
Then, pin the smaller sized fabric onto the bigger sized fabric right-sides together.
After that, sew your two pieces of fabric together, and repeat for the other 2 pieces of fabric.
Then, fold the fabric an inch down from the top to create the loops for the drawstring. Do the same for the other piece of fabric.
Now, tie your cording or yarn to a safety pin and pin all sides of the fabric except the top.
Feed it through the top loop starting on the right side.
Then, feed it through the bottom loop, and back up into the first loop so now you have string coming out from both sides.
Tuck your string inside of the bag and make it stick out the bottom. Then sew along all the edges of your fabric except for the top. This joins your fabric and makes it a bag.
Lastly, turn the fabric inside out and you're done! This is a bad photo, but this is how mine looks:
This DIY was so fun to make. I love how you can use different fabrics and it still looks cute! This project is a little time consuming, but it's worth it. Also, if you don't have a sewing machine, you could always hand sew it or use glue. You should definitely give this one a shot!
Until next week,
-Vasti


No comments:
Post a Comment